MAKE A USB BOOTABLE FOR WINDOWS
7 USING ONLY COMMAND PROMPT
I thought I would share this tutorial I put together in response to some users having difficulty creating a bootable USB drive for windows 7 in RT7Lite (I have never tried to use that function as I always create an ISO). I got the basic commands from the net and am going to take you step by step through the process without having to use a 3rd party program using the command prompt to utilize DiskPart which is built into Windows 7 by default.
* Insert you USB drive into your computer and remove the contents from the drive.
*Open command prompt by typing in cmd in the start menu search box and hit enter.
*First we need to know which number is assigned to the USB we are going to make bootable by typing in "diskpart" and hit enter
Resized to 38% (was 1600 x 944) - Click image to enlarge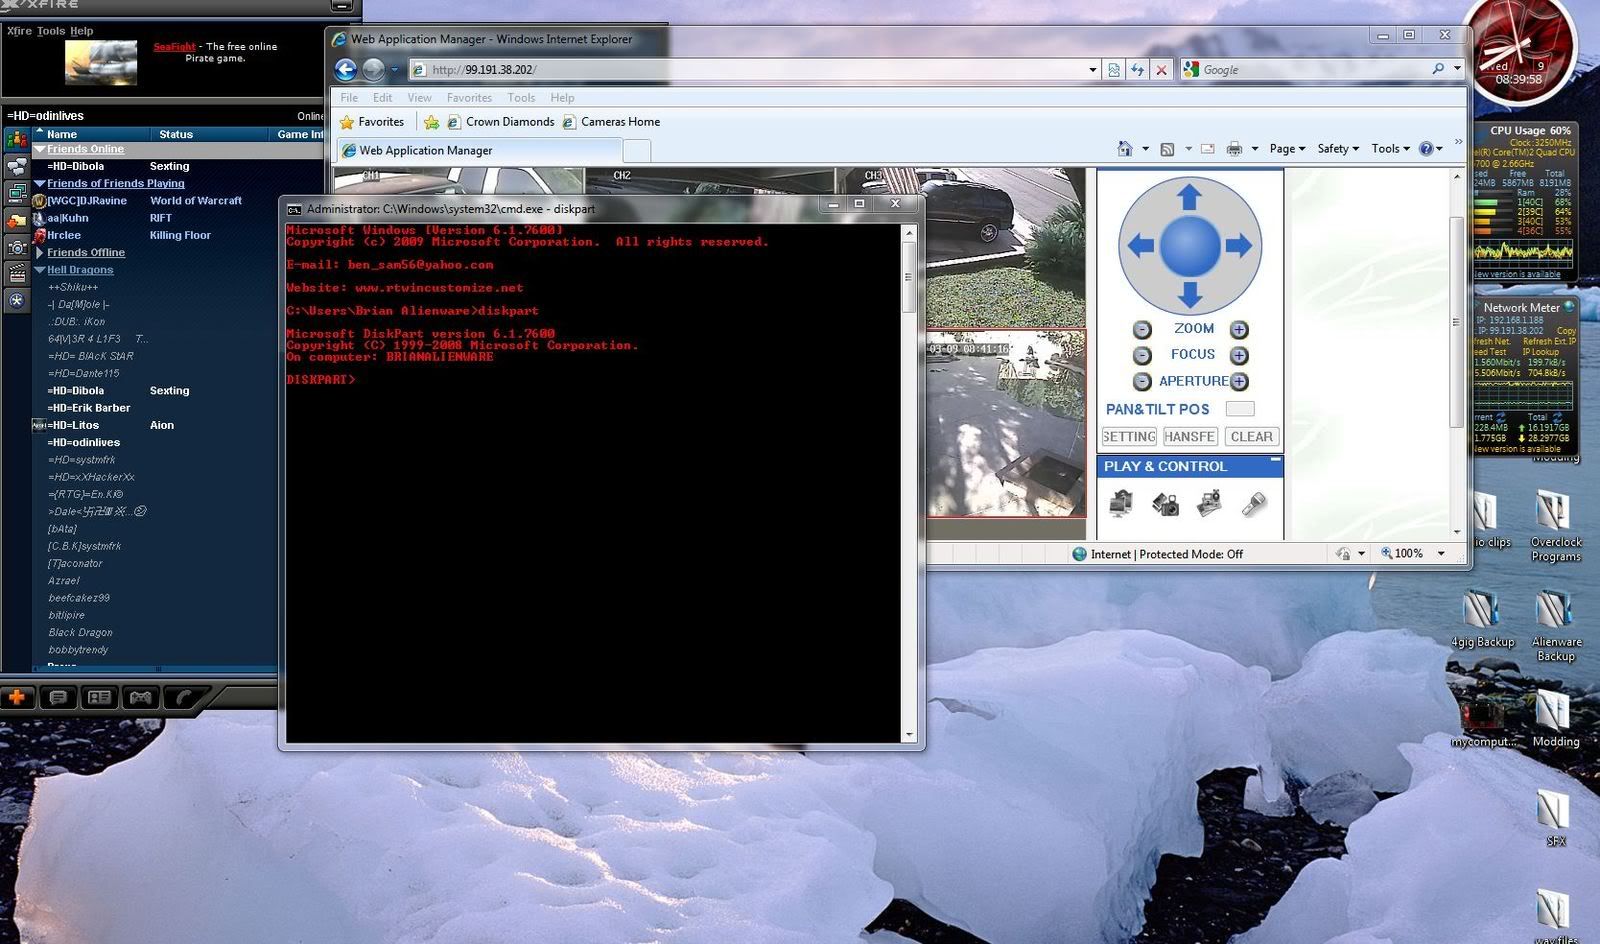
*Now type "list disk" and hit enter and you will see all of you drives with numbers assigned like this
Resized to 38% (was 1600 x 948) - Click image to enlarge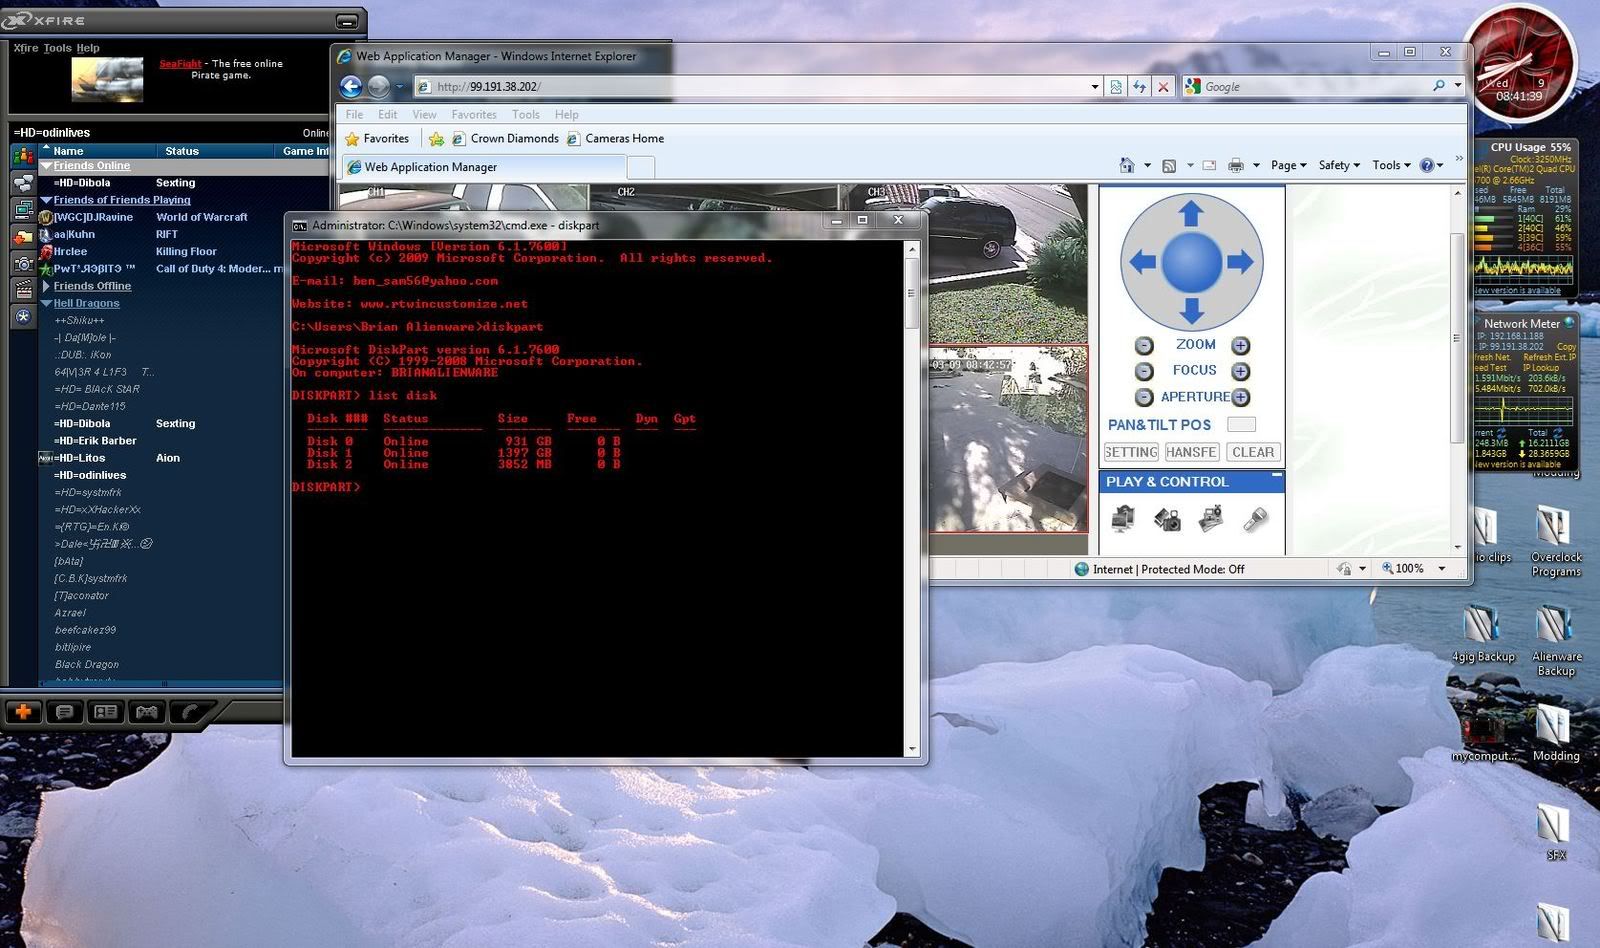
In this case my 4gig USB drive was Disk 2 ( make sure you don't choose the wrong disk or you will end up erasing the disks contents, I can't be held responsible for your mistake)
*Next type in "select disk 2" (or whichever you disk is) and hit enter
Resized to 38% (was 1600 x 989) - Click image to enlarge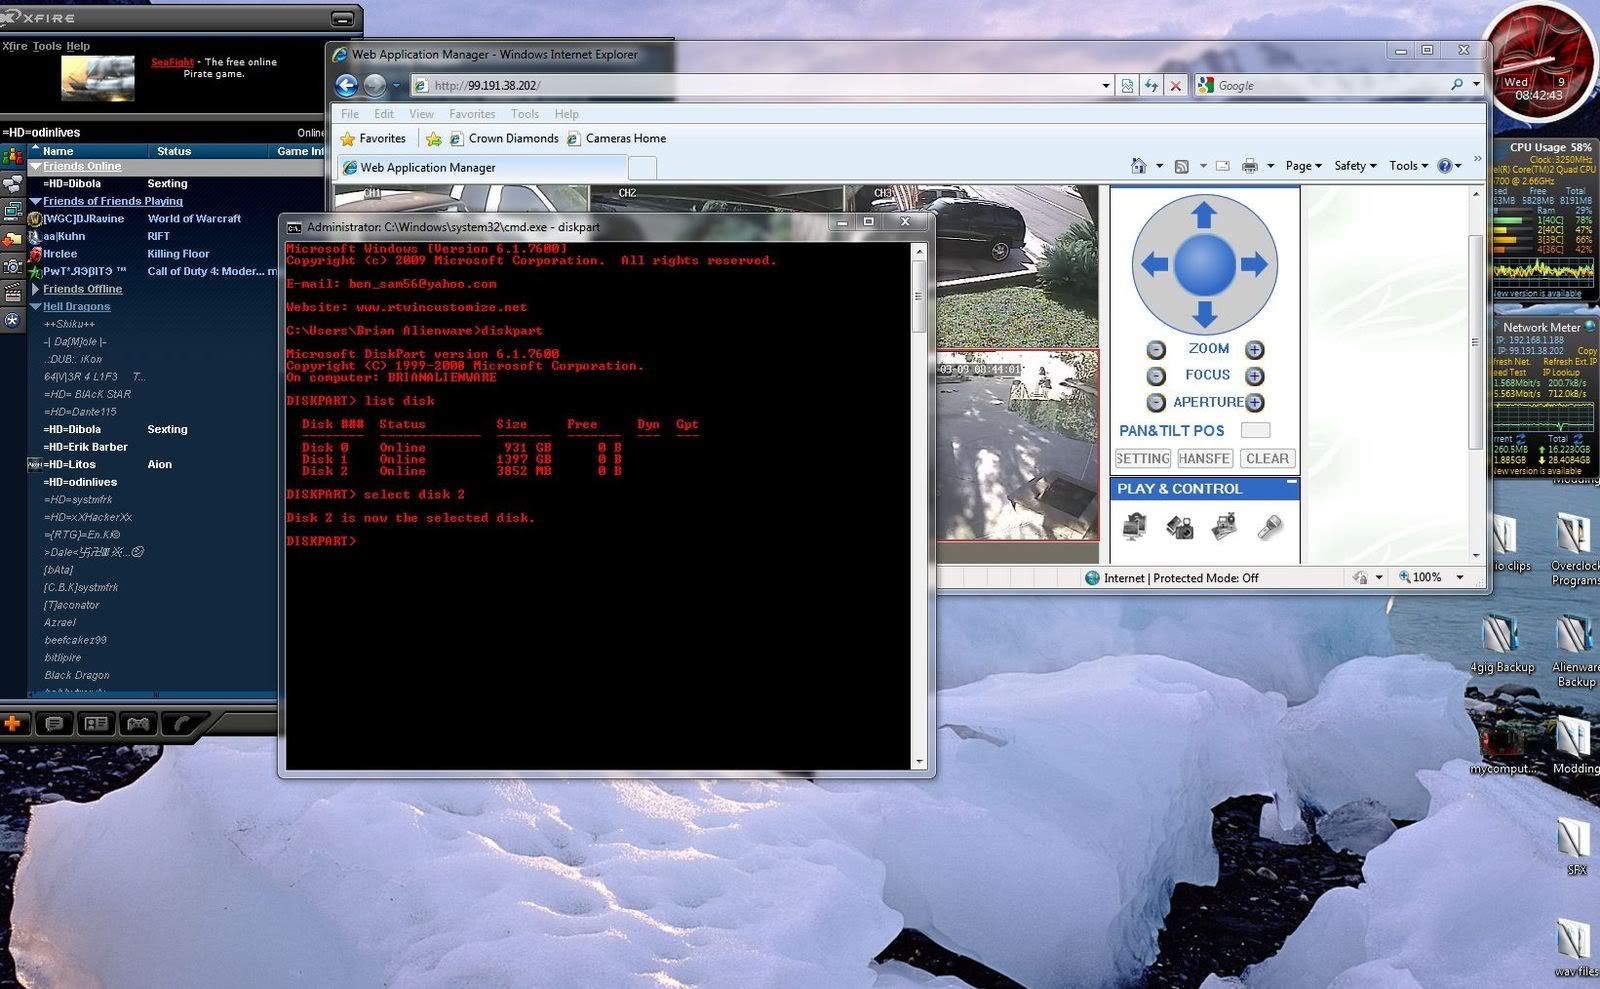
*Next type "clean" and hit enter
Resized to 38% (was 1600 x 985) - Click image to enlarge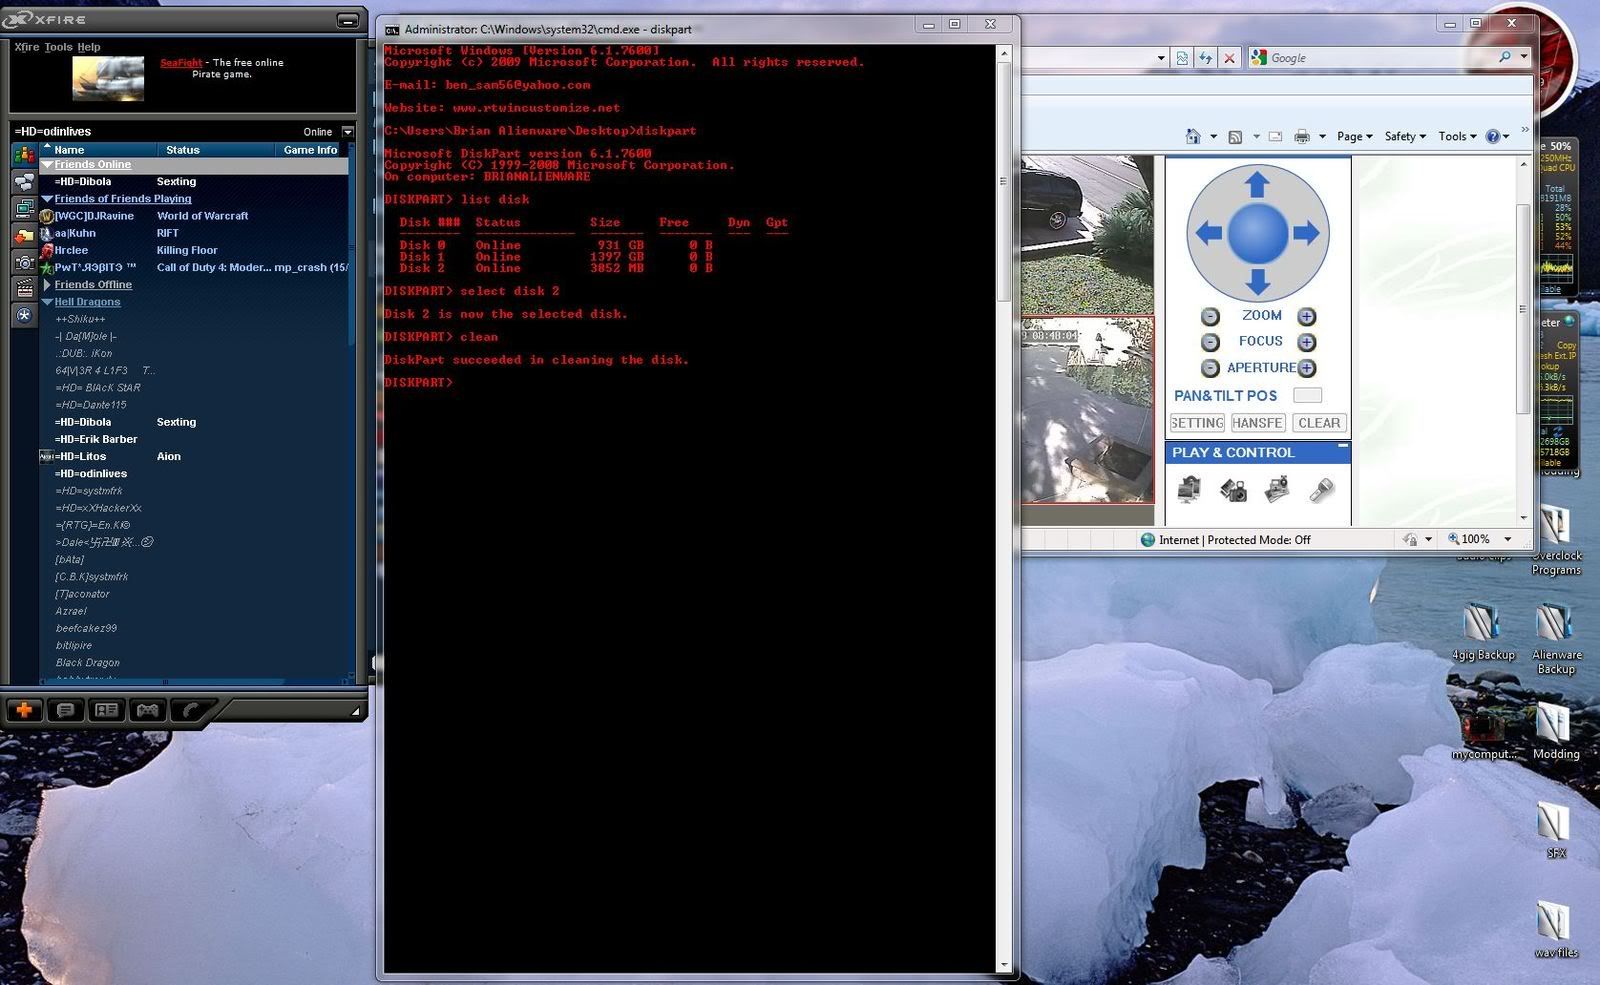
Next type "create partition primary" and hit enter
Resized to 38% (was 1600 x 987) - Click image to enlarge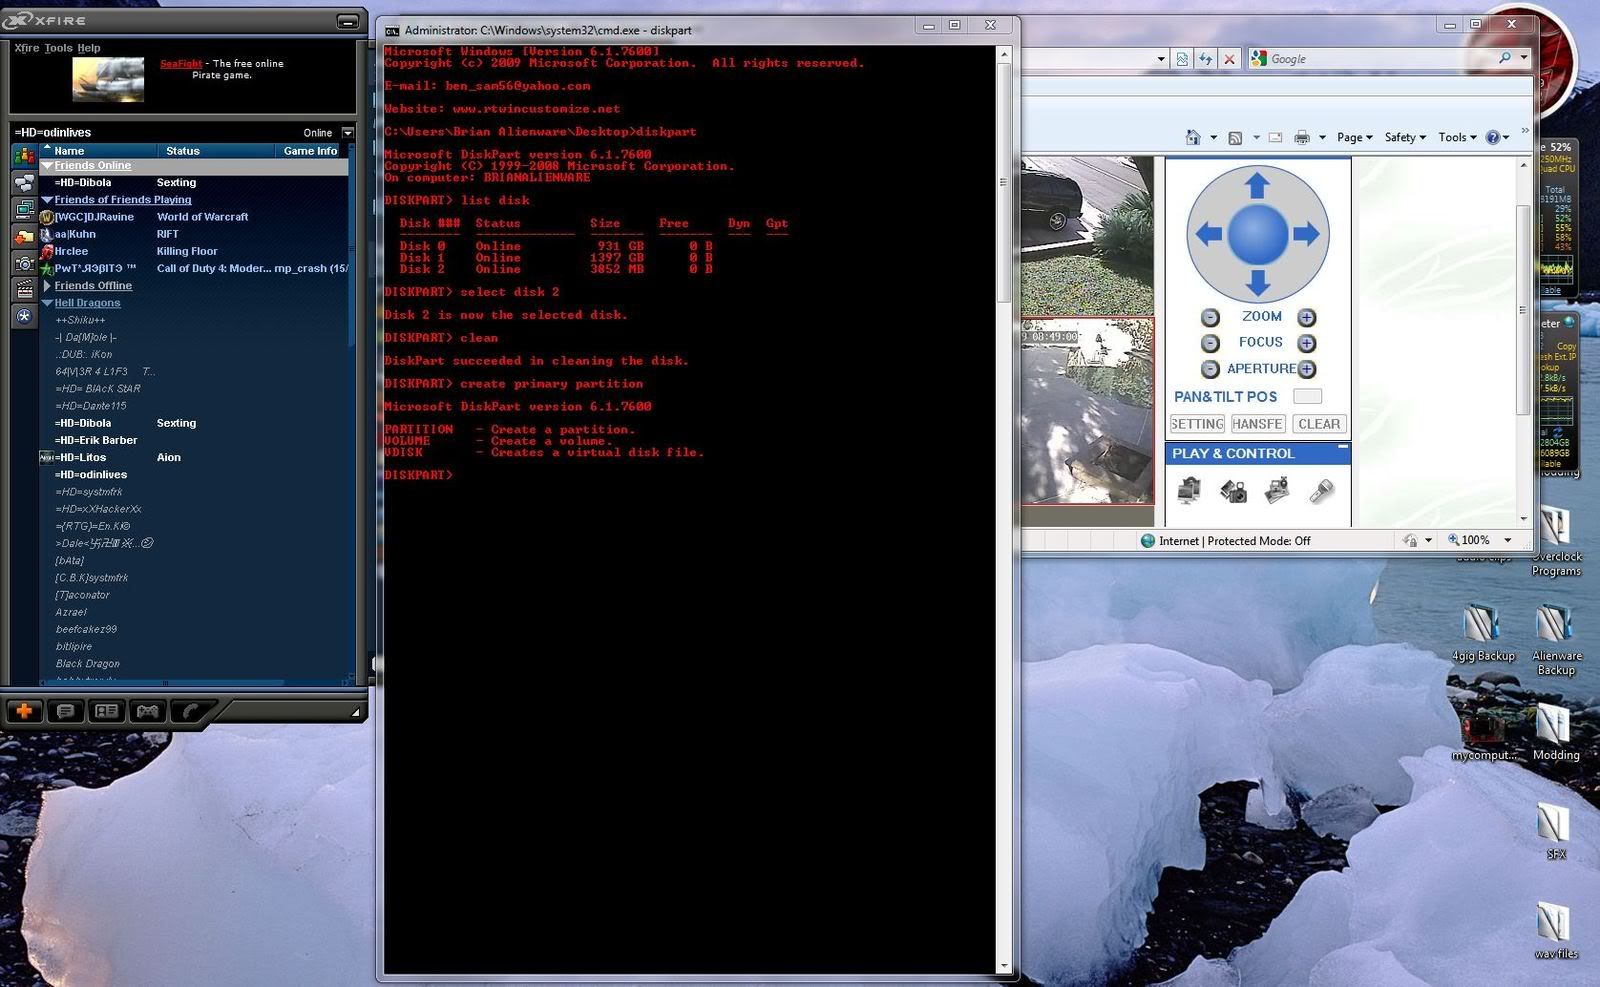
*After you see the in the above image that it has successfully created a primary partition on the selected disk you chose, type "select partition 1" and hit enter. (Don't confuse partition number with disk number. As they are not the same, you need to just type "select partition 1")
Resized to 38% (was 1600 x 946) - Click image to enlarge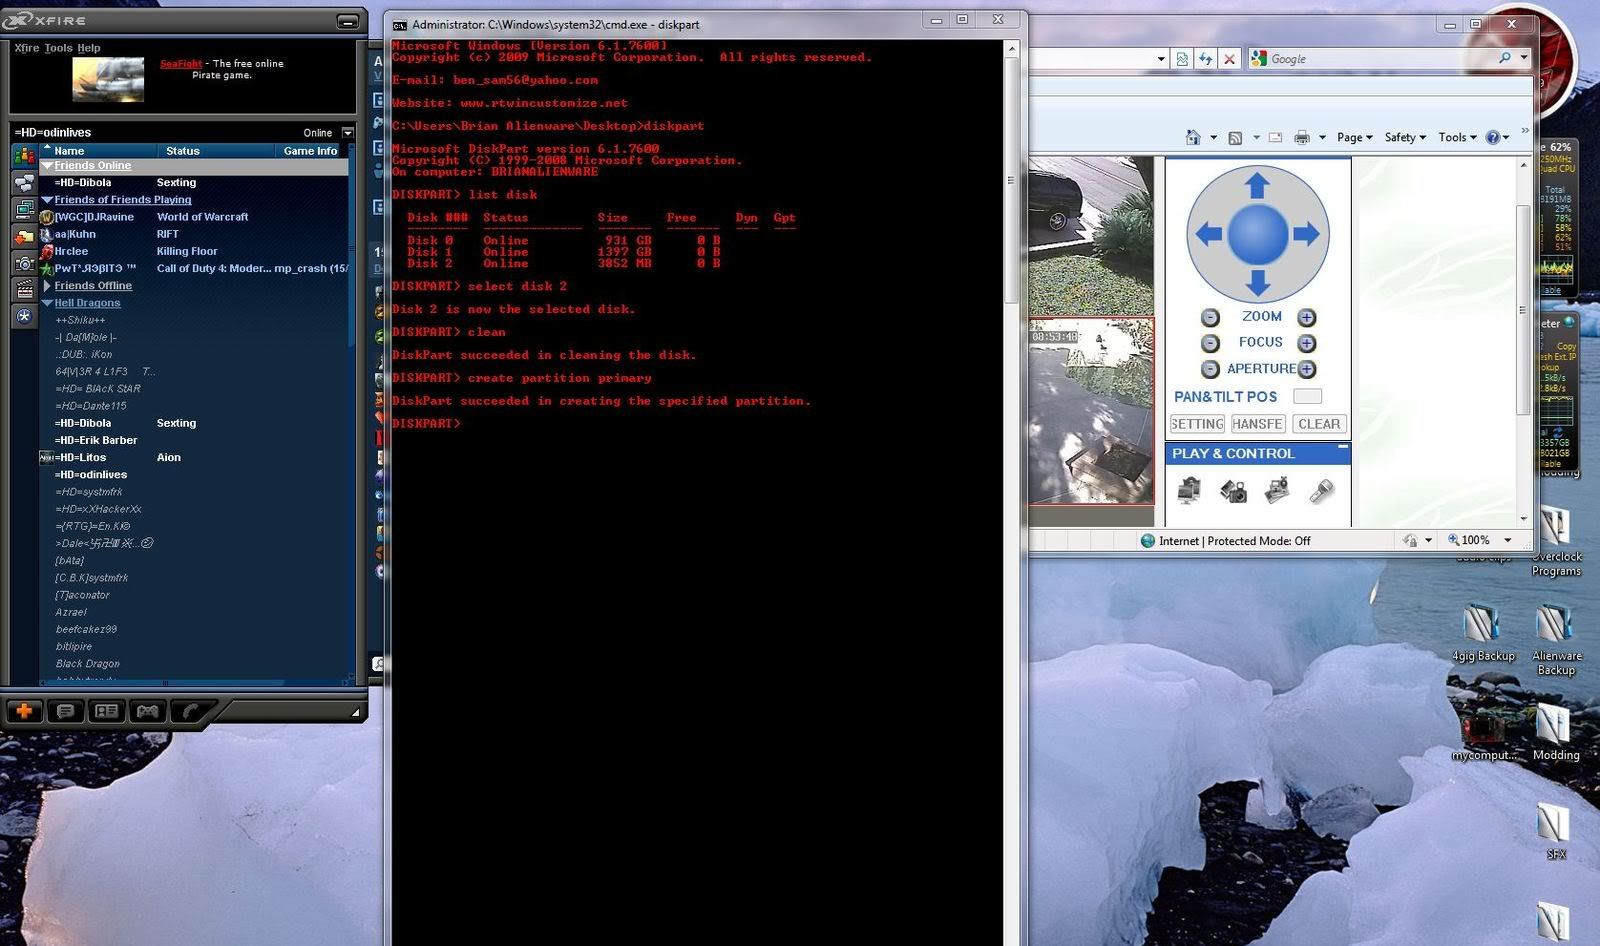
*Type "active" and hit enter
Resized to 38% (was 1600 x 976) - Click image to enlarge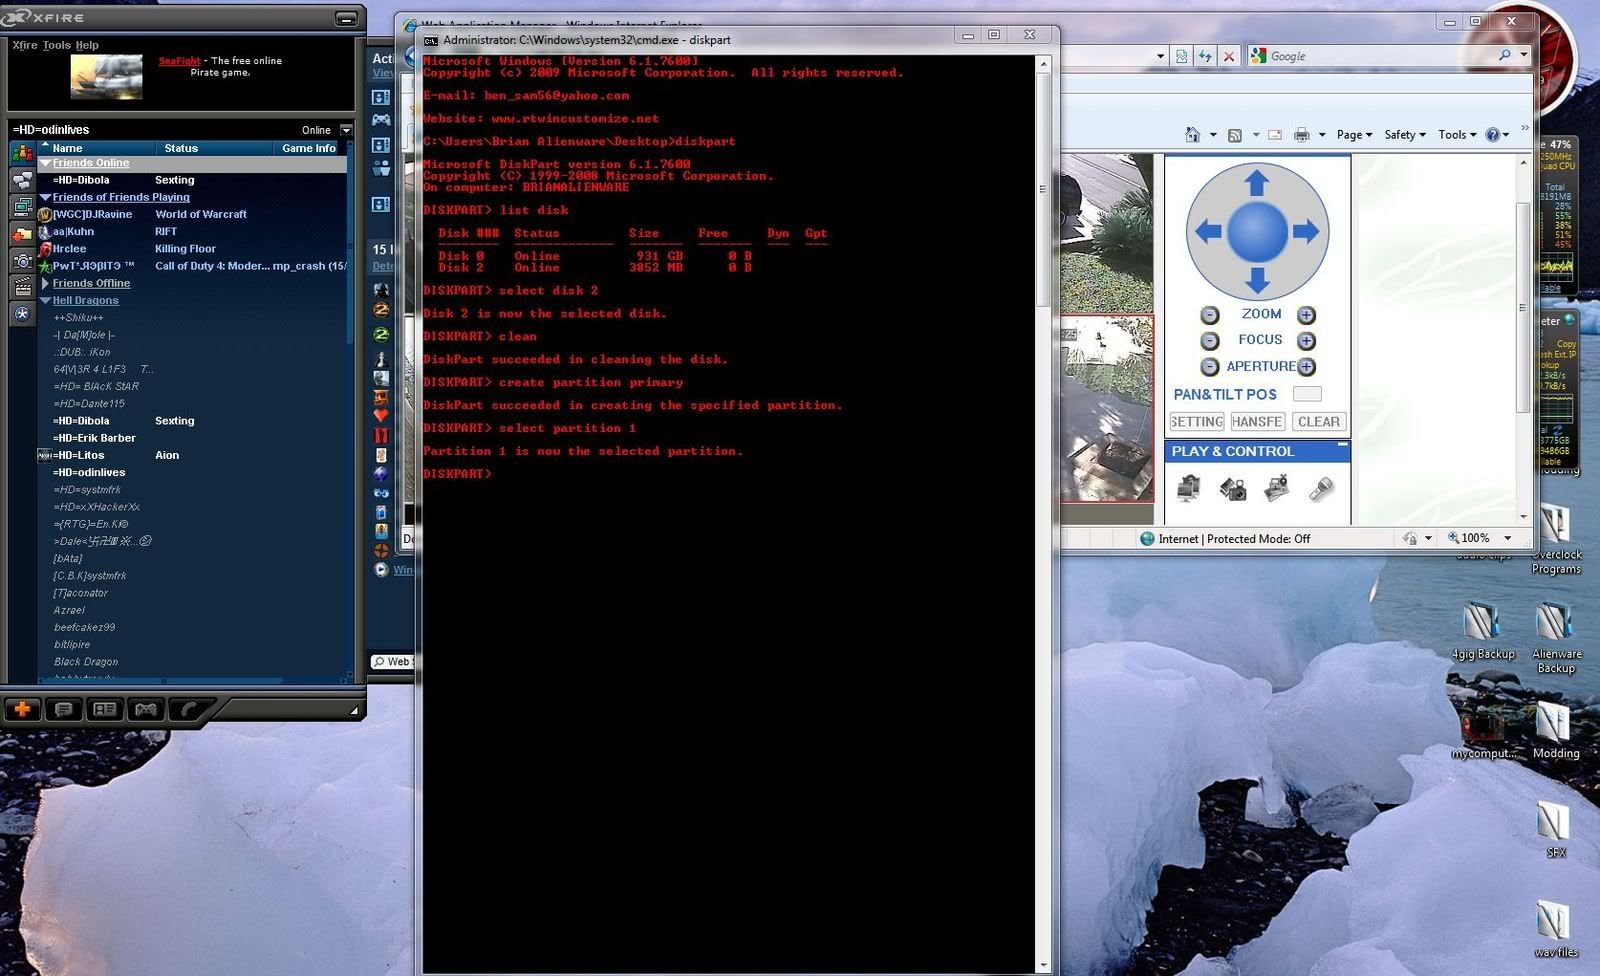
*Type "format fs=ntfs" and hit enter. You will see progress in percent like image below.
*When it completes process type "assign" and hit enter.
Resized to 38% (was 1600 x 954) - Click image to enlarge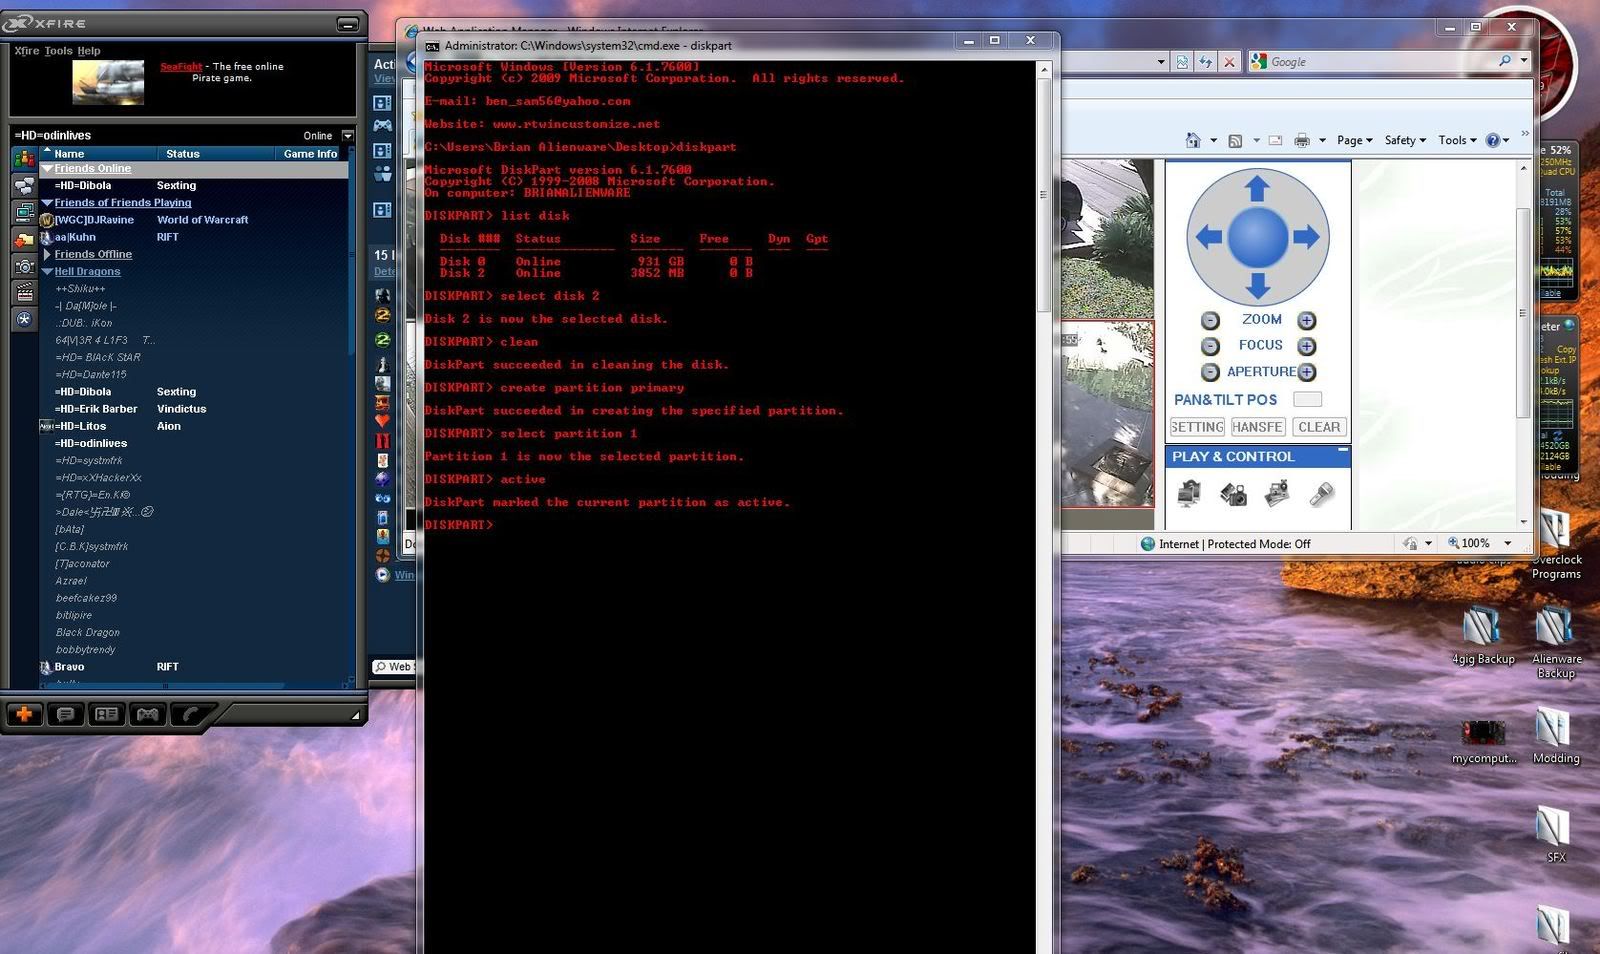
*Type "exit" and hit enter
Resized to 38% (was 1599 x 984) - Click image to enlarge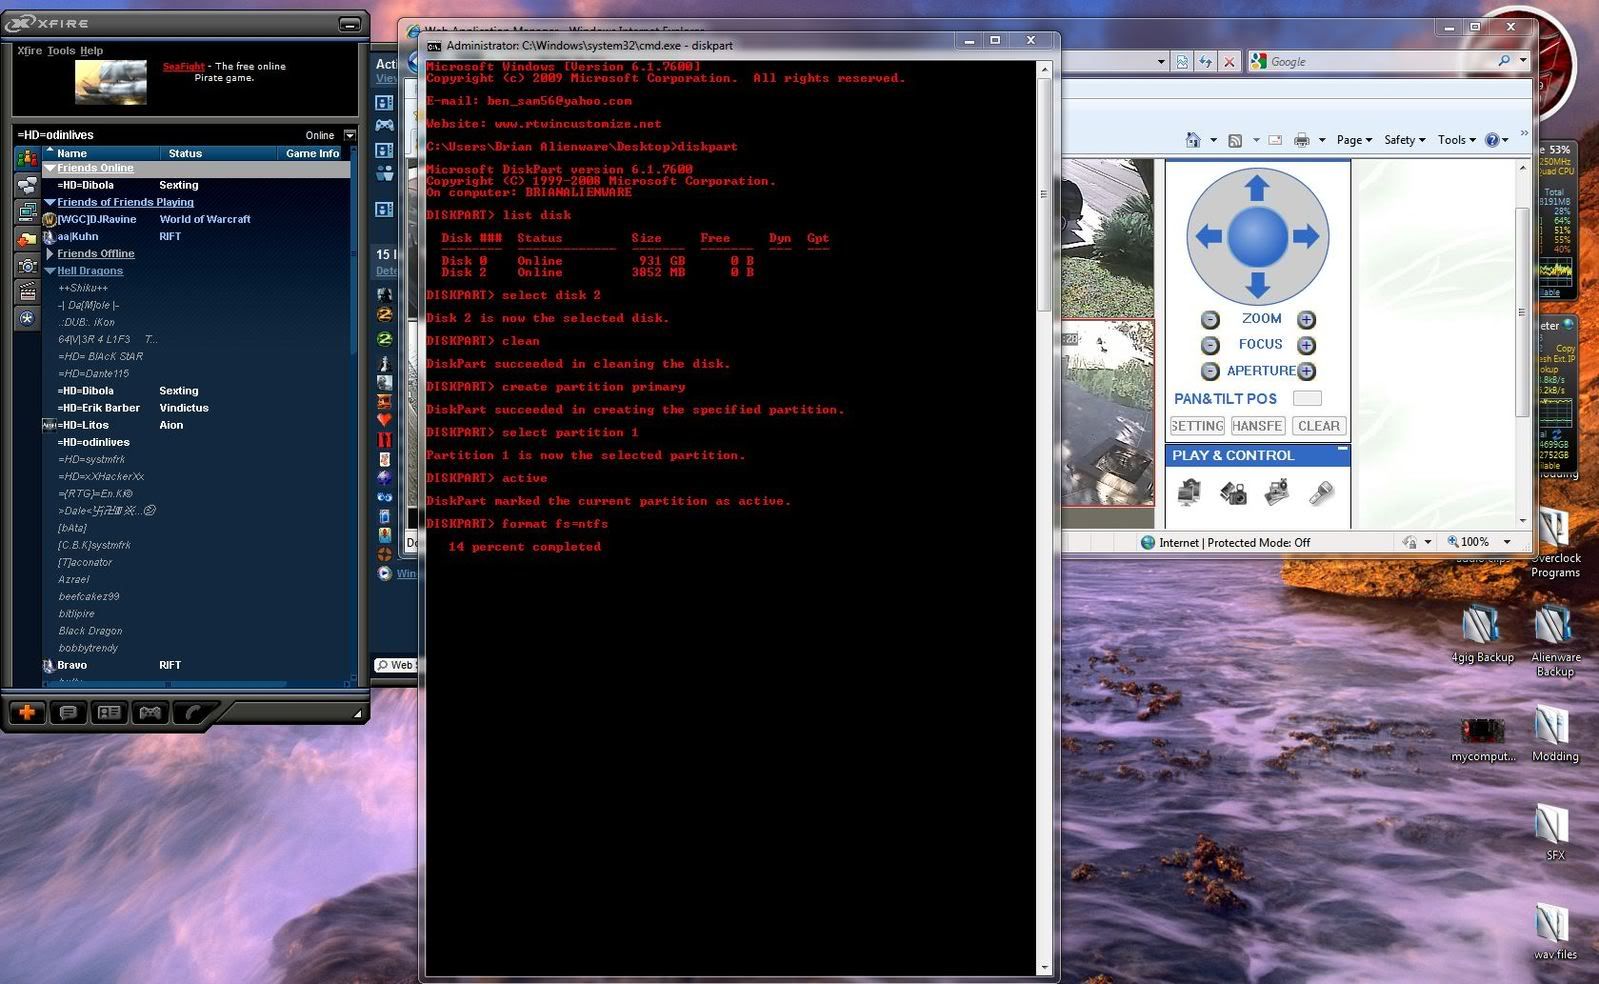
*Just leave command prompt open as we are going to add one final command which will update the Bootcode on all volumes and the USB will be bootable for Windows 7.
*Either insert your Windows DVD or in my case I mounted my ISO using PowerIso and check to see what drive letter it has been assigned. My ISO of Windows was mounted to drive letter "E" and my USB was assigned drive letter "G".
Type in this command: "e: cd boot" and hit enter
Resized to 38% (was 1600 x 970) - Click image to enlarge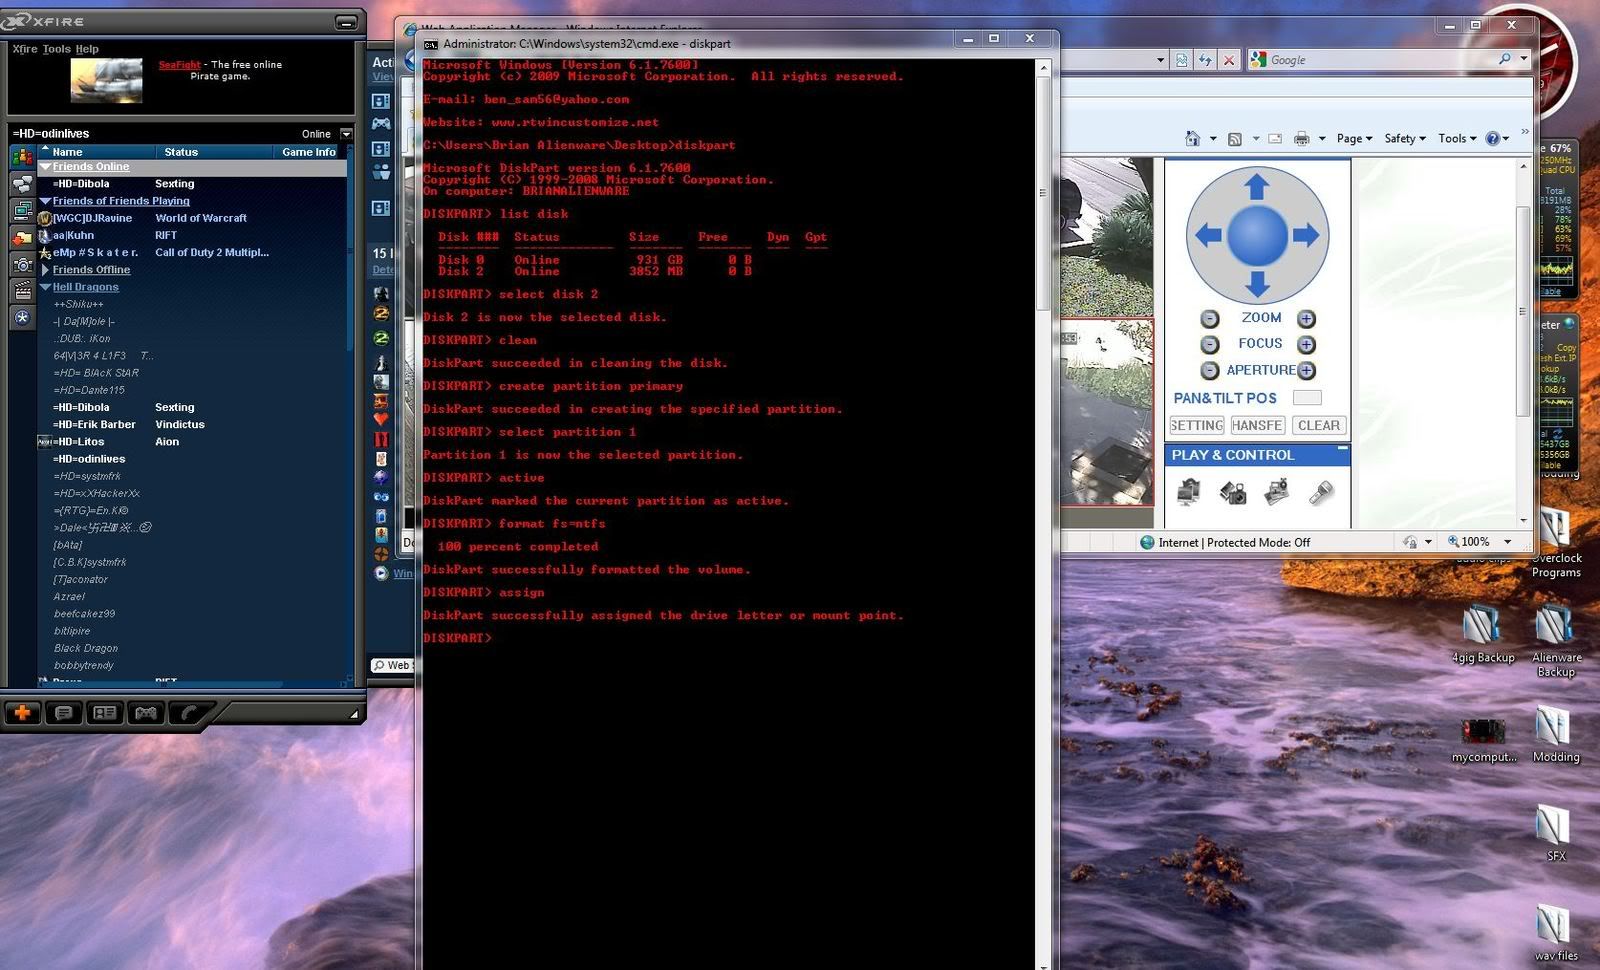
*Type "cd boot" and hit enter
Resized to 38% (was 1600 x 1003) - Click image to enlarge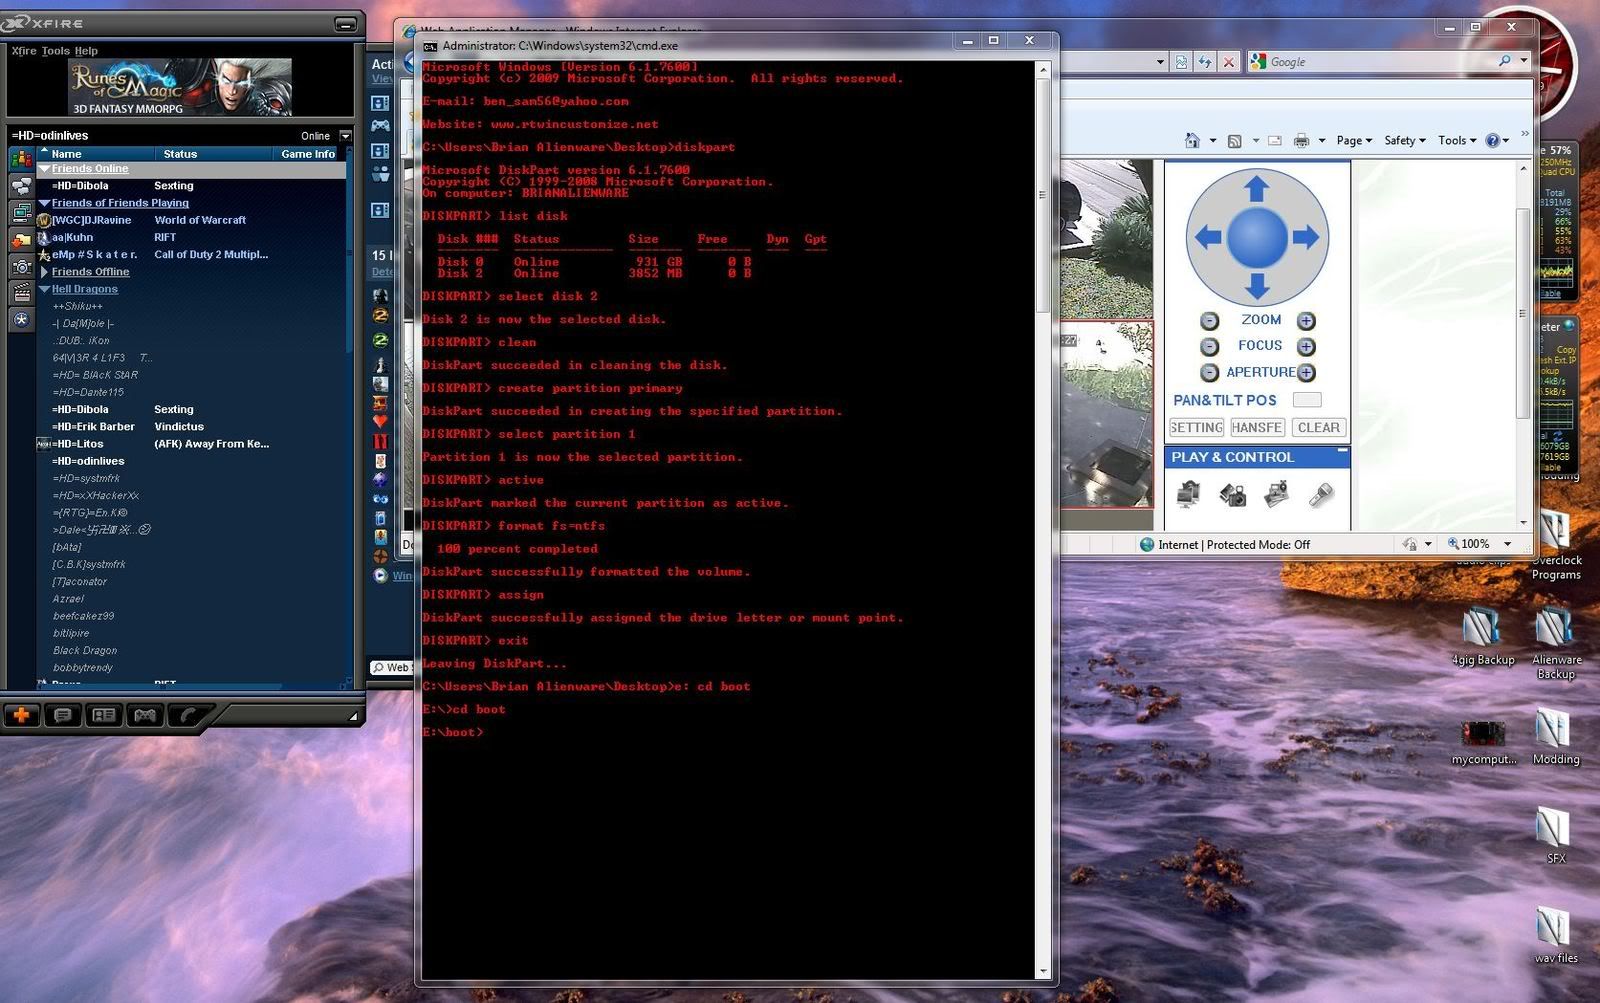
Type this final command, "bootsect.exe /nt60 g:" and hit enter and you should see this (remember you must use the drive letters assigned to the specific drive letters you are working with):
Resized to 38% (was 1600 x 969) - Click image to enlarge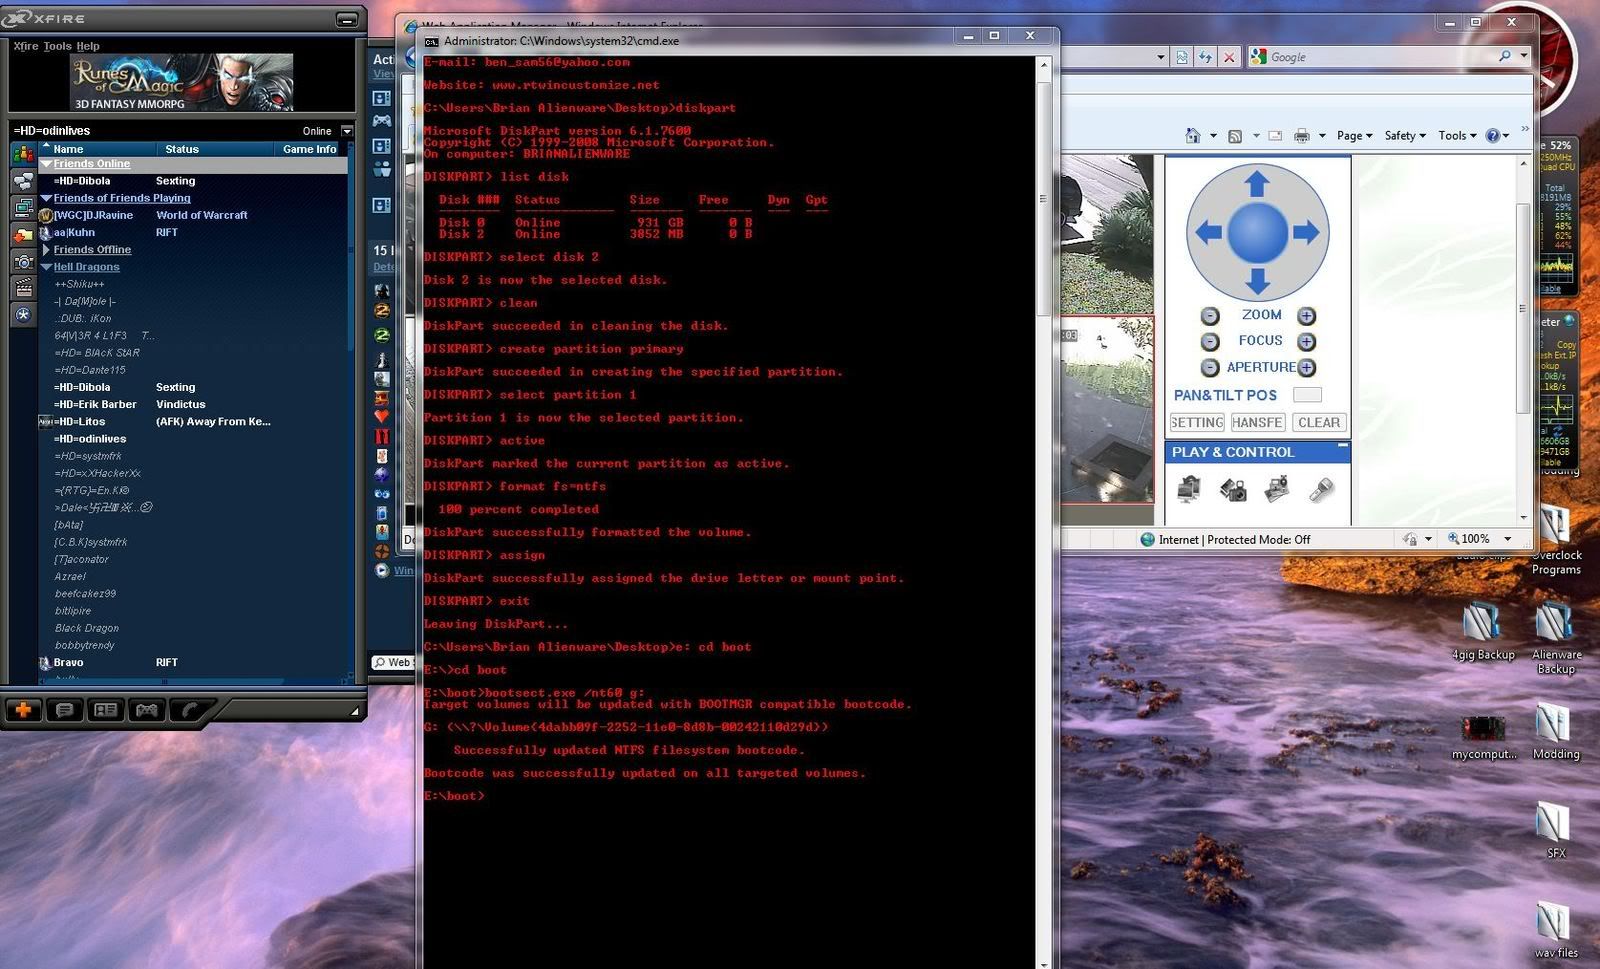
As you can see it now says we have successfully updated NTFS filesystem bootcode.
*Final step is you are going to have to extract the DVD contents or the ISO contents to the USB Drive. I used Power Iso and right clicked my unmounted image and chose extract to and then chose my drive letter "G". You could also use 7zip or Winrar for the iso as it doesn't really matter. After it is done extracting the contents you now have a fully bootable Windows 7 USB.
Resized to 38% (was 1600 x 480) - Click image to enlarge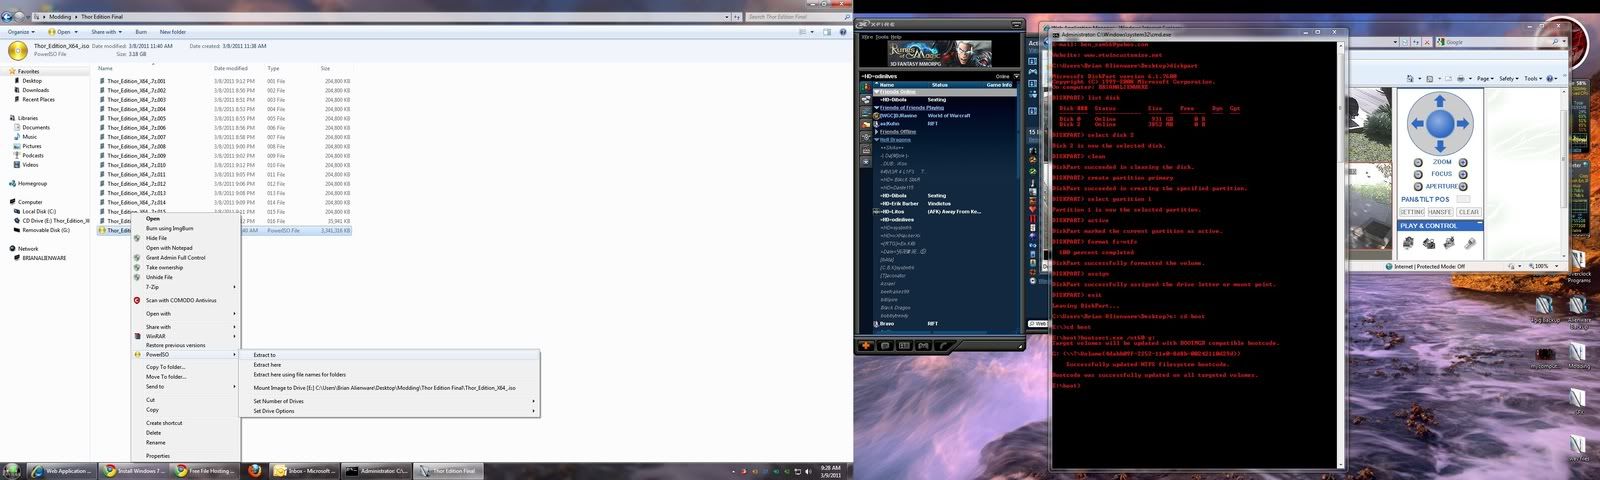
Resized to 38% (was 1599 x 890) - Click image to enlarge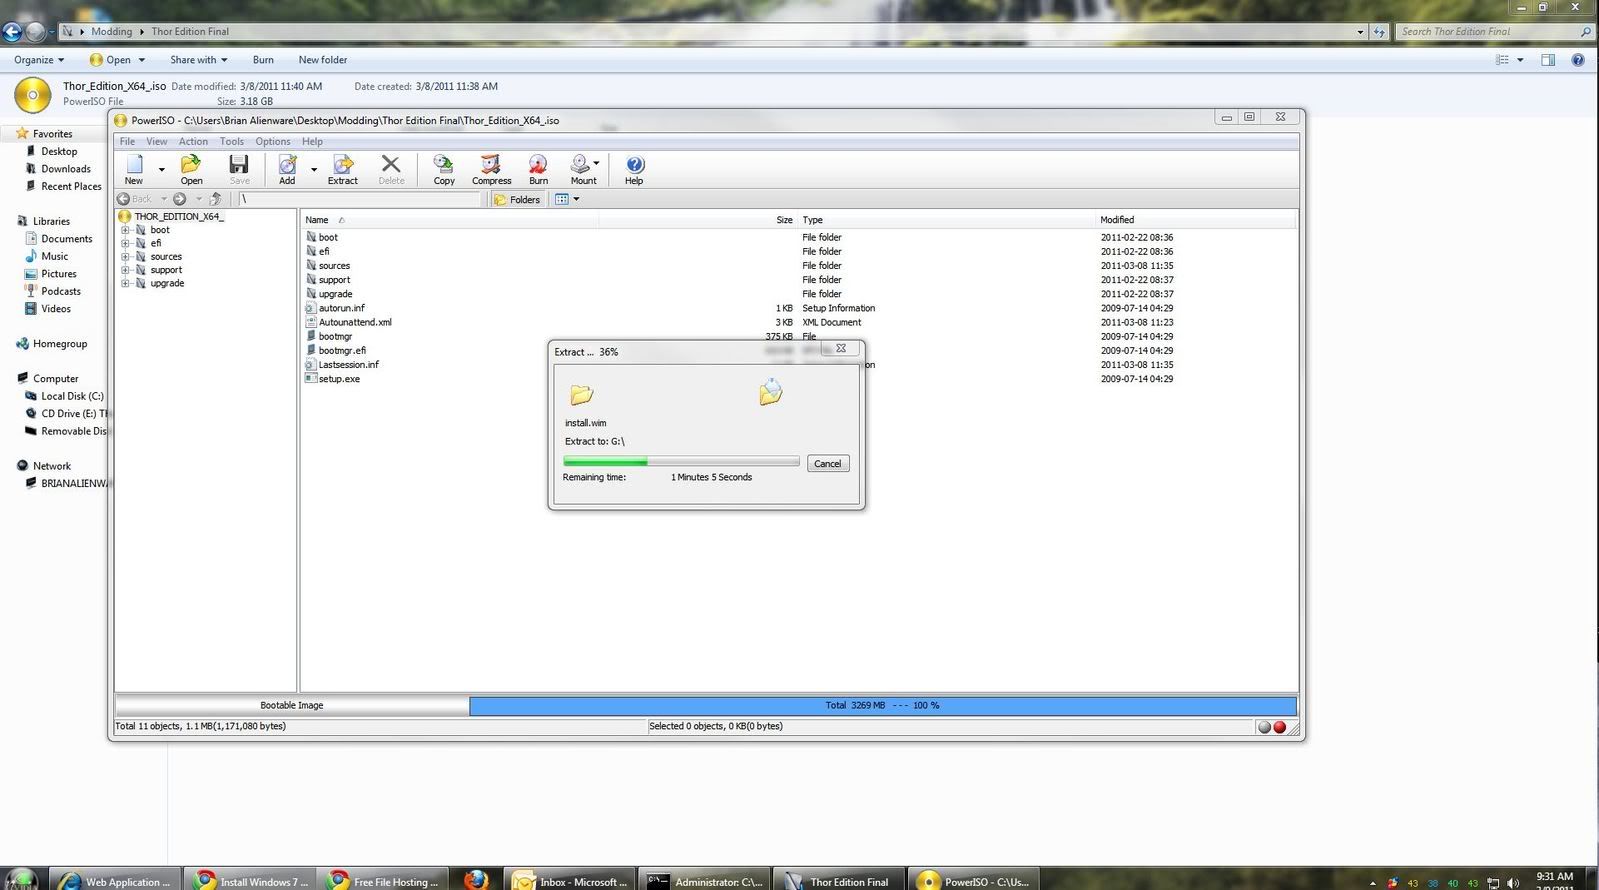
If you like my post please say Thanks by hitting the + sign on the bottom right and
give me some Rep.....